Saturday, February 23, 2008

Dirty Workshop


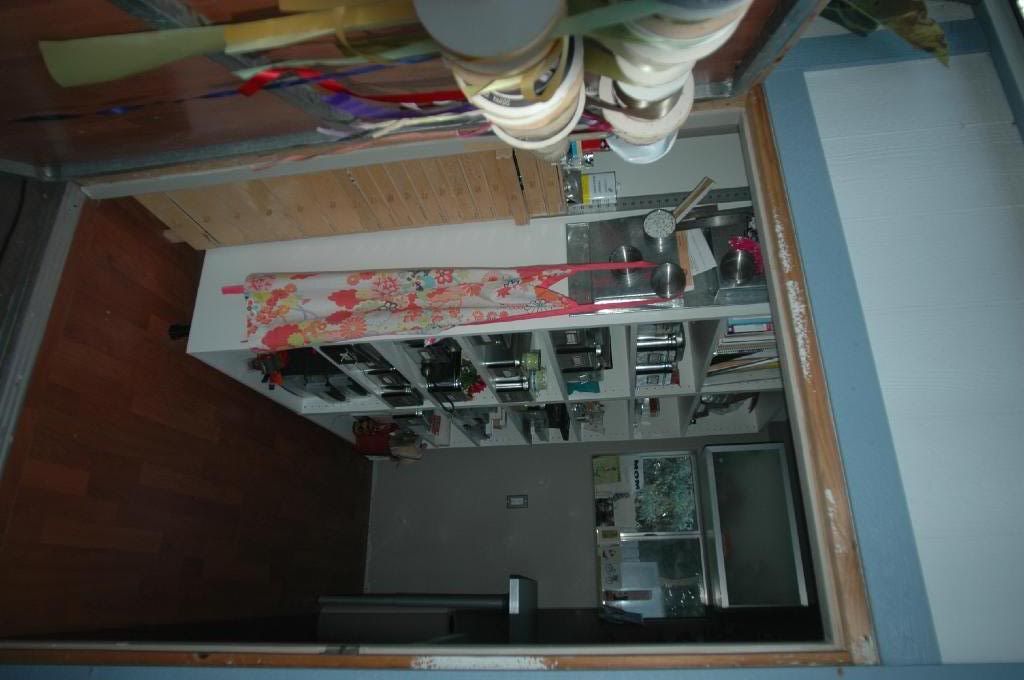
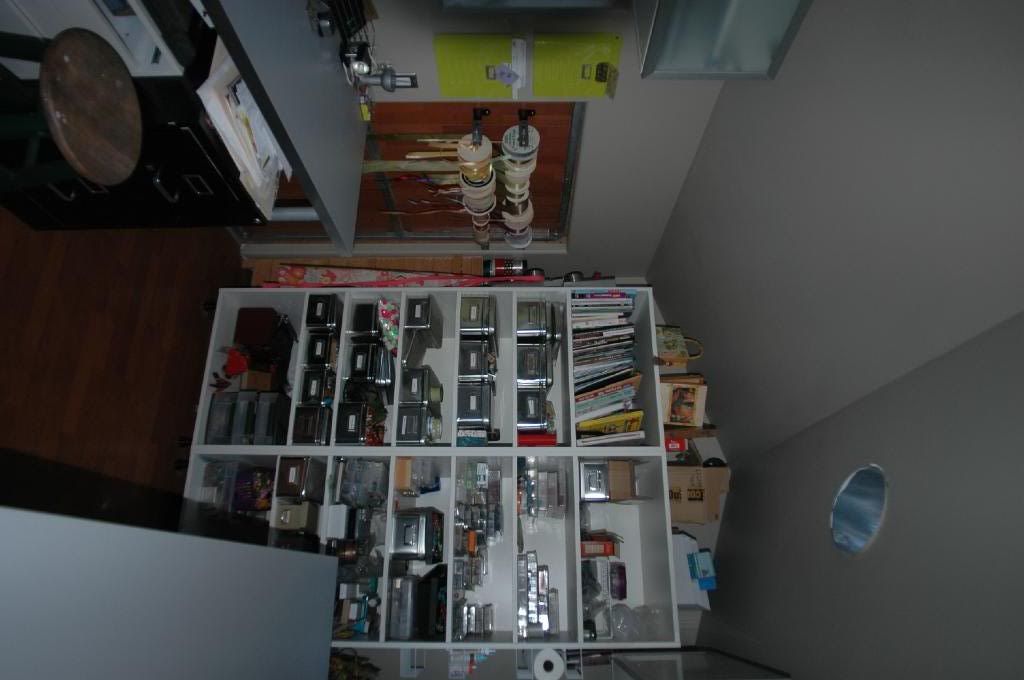
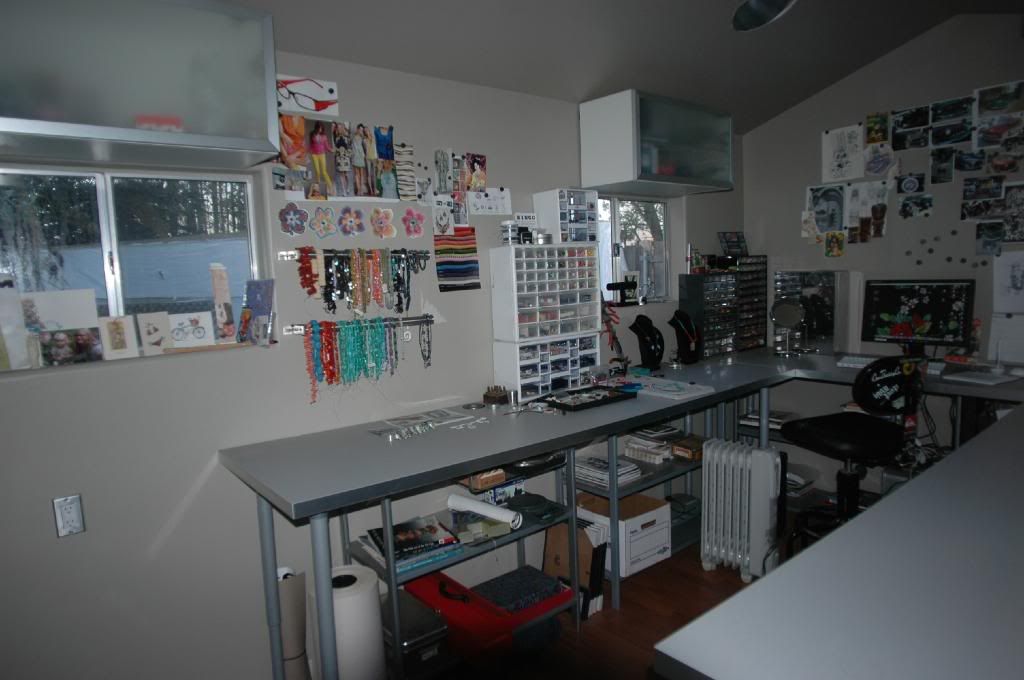
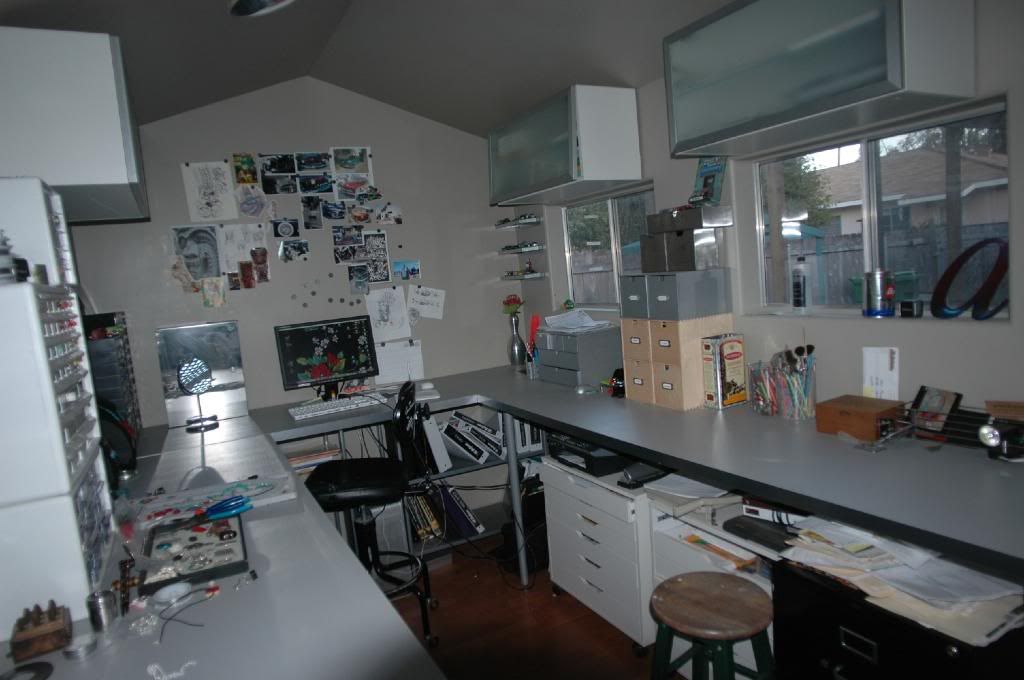
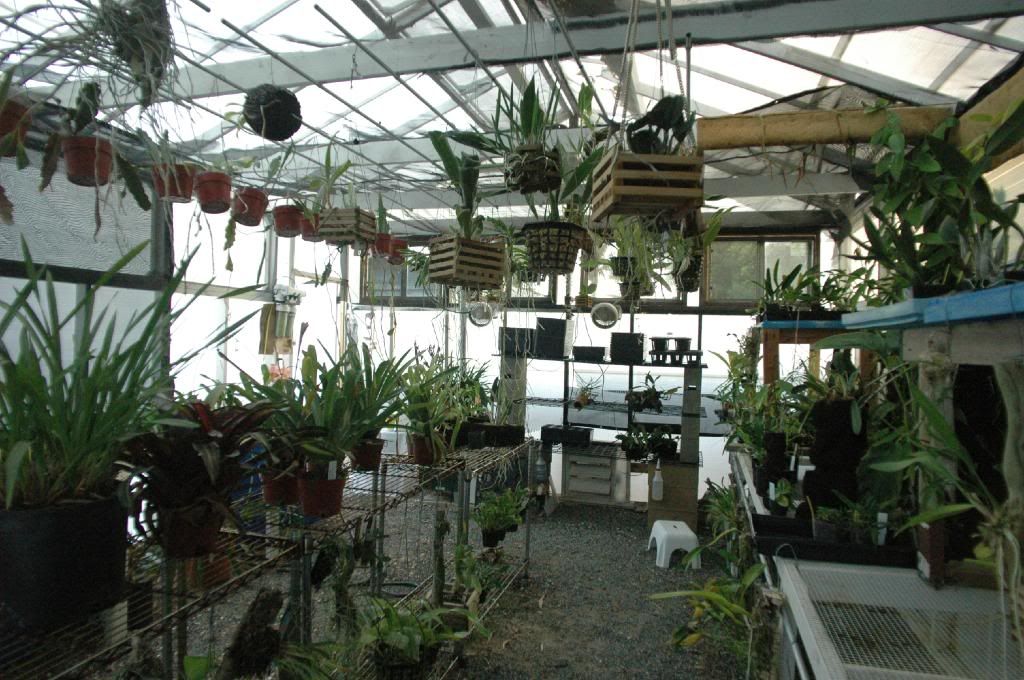
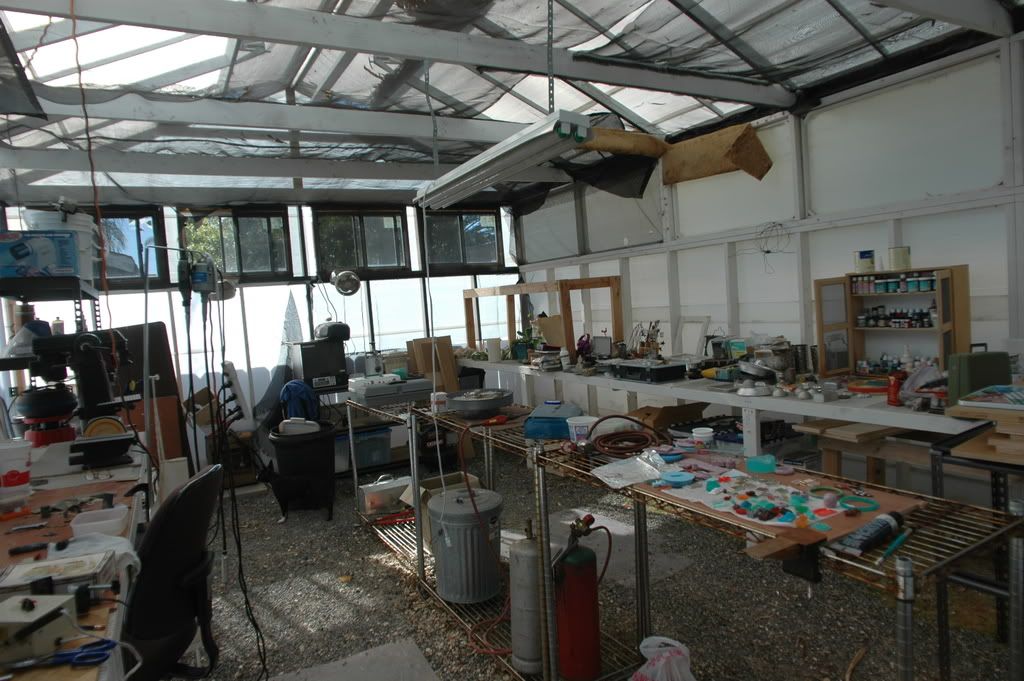
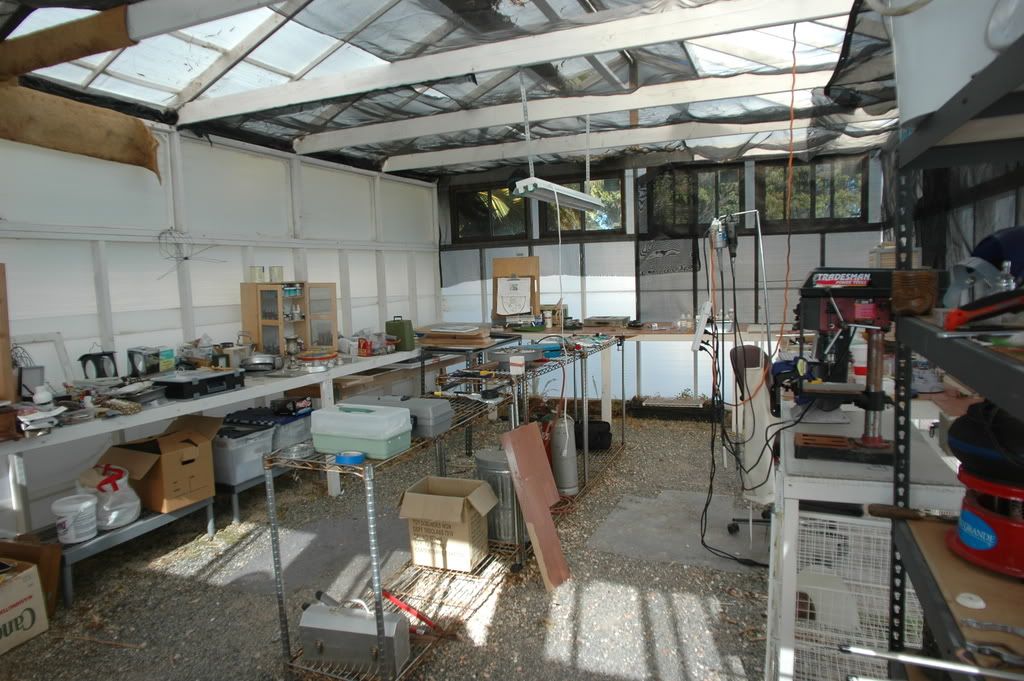
Here is our other greenhouse that we have converted into our dirty workspace.
All the natural light in here is just wonderful and I love the gravel floor.
Well it is great for making a mess on but is not so good for rolling a chair on, or when you drop a little piece on it.

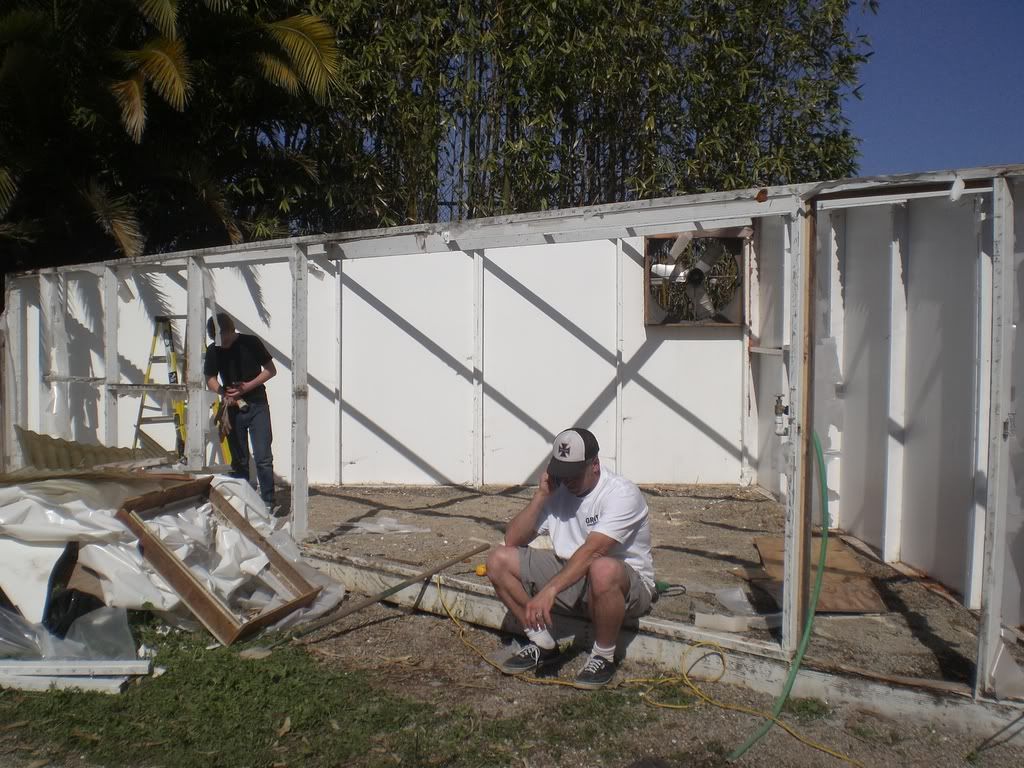
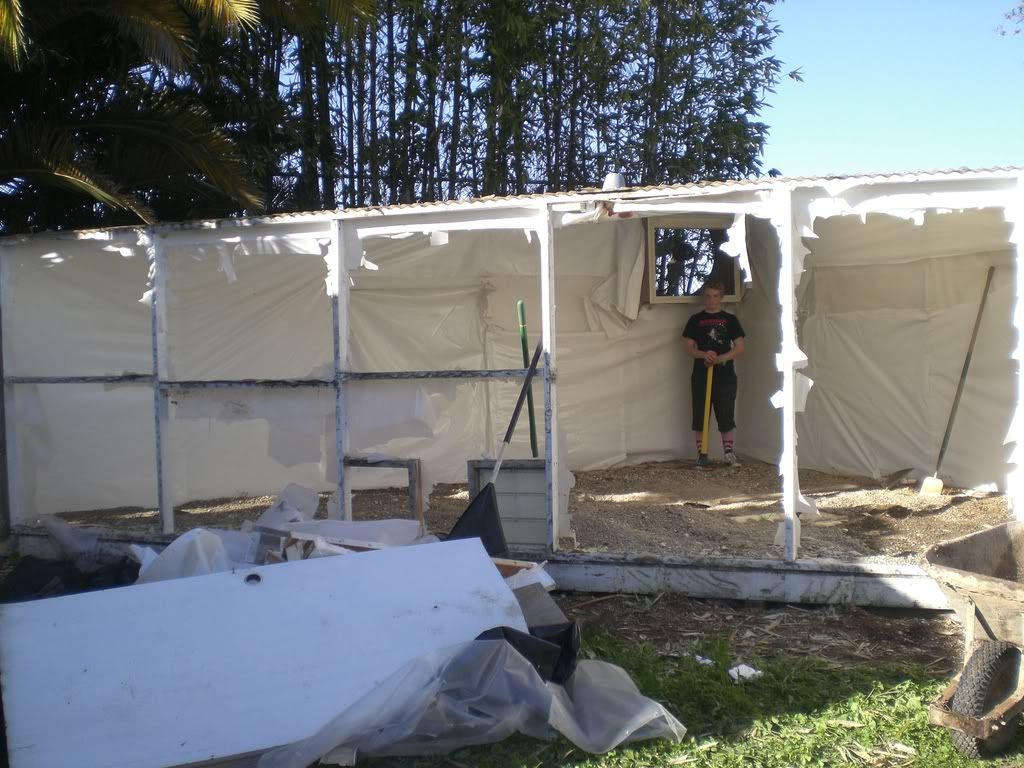
With all this rain we have been getting this winter, we are discovering that moisture abounds out here. So we have decided to create a dry work space in the big greenhouse and we are going to use a lot of the scrap from the corner green house that we just tore down. Basically our plan is to create a dry room within the greenhouse that we can make watertight. It will have natural light but not have water that works it way in. We will also build a floor in this portion.


This is our recycle pile. It has grown from when this shot was taken.

Monday, February 11, 2008

Studio-licous


I am feeling really great about my studio right now. So I took a bunch of photos to show it off. This is considered our clean work space.
You can see the new magnet paint in full force. The main thing left to do in here is once we get our new electrical power panel in we will install the cable lights in the studio. This will also allow us to be able to use all of our outlets. We put quite a few in and they are installed just below the counter height.
Now that the weather is warming up it is much easier to use this space. Since I do a lot of my work late at night when the little one is asleep. I love being able to work in here. It just feels great.
I will get photos soon of the in progress greenhouse studio it is the dirty work space.

This looks fun | Mark lives in IKEA

Check out this blog I found today.
Mark lives in IKEA.
I love having dinner at Ikea.

Sunday, February 10, 2008

Magnet Paint


Well a while back when I was trying to solve a way to mount things on the wall, when I came across a product that caught me eye, Magnetic Receptive Paint. Basically it is a paint that is impregnated with metal shards. And when you paint the paint on magnet will stick to it. This seemed like a great thing to me. We used to have these big metal boards up in the old studio and we filled them up completely. I liked the idea of the paint so we wouldn't be confined to the metal boards. And besides the metal boards were a hassle to mount.
The directions on the can say to do at least 3 coats, air drying between each coat. So I painted four coats. And then you paint your chosen wall color over it. This pretty much took me two coats to cover the very dark grey color of the magnetic receptive paint. Picture a black chalkboard, and that is what the color looks like.

Well the studio is all done except for final lights.
I will take some photos of what the walls look like finished. I have been a little disappointed, as for how well the magnets stick to the walls, I am using pretty hefty magnets thin paper works okay. Thick paper does not work well, nor does overlapping the paper, the magnets fall off. I have to be very careful when putting things on and it seems like a have to use a gazillion magnets since overlapping is not really an option.

I am going to invest in some super strong magnets, those seem to work with thick stuff.

Tiki Bath Progress


Well we got a little further in the Tiki bathroom. Our friend Mike Grover gave us some nice dark bamboo strips that were already to be used on a wall. I had given them to us before we bought our house and we had been saving them for something interesting. We just didn't know what at the time. The bathroom seemed like the perfect place. So Brad got all the pieces cut and was able to use his finish nail gun and just mount all the pieces on the walls. The bamboo was a little tricky work with in that it not necessarily a straight material. Overall I really like the way the bathroom looks. It feels tropical. But I think the bamboo finishes off the thatching on the walls nicely.